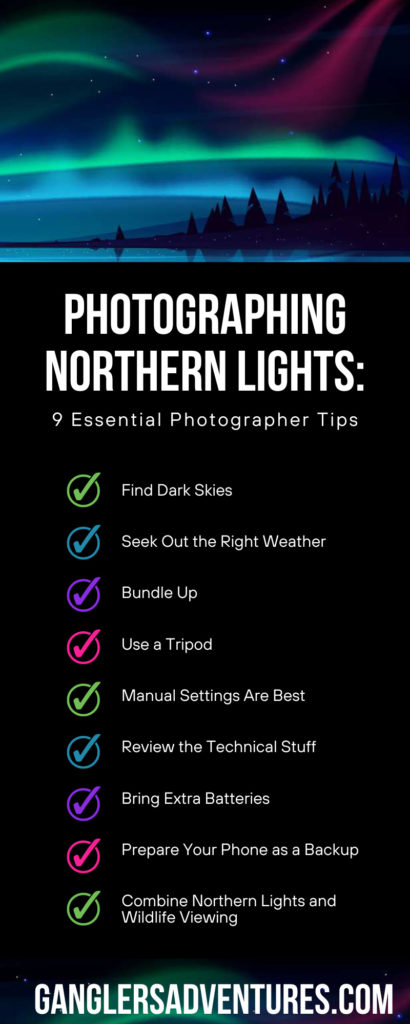
Photographing Northern Lights: 9 Essential Photographer Tips

The aurora borealis, more commonly known as the northern lights, inspires awe and wonder in those lucky enough to see them. Photographing the northern lights with nine essential photographer tips in mind will help you preserve the experience in a keepsake that you can frame and share with family and friends. Getting a great shot of this natural phenomenon requires preparation, skill, and patience. It isn’t just an act of snapping pictures; it’s a carefully planned, deliberate process involving knowledge of your camera and how it works and the optimal conditions in which to attempt to capture light that is moving across the sky in colors of shifting intensity.
Find Dark Skies
The best opportunity to take a beautiful photograph of the northern lights is under the darkest skies you can find, far away from the glaring interference of urban light pollution. A moonless night provides a starry backdrop but a dark landscape, while a landscape illuminated by moonlight can aid in your picture’s composition.
Seek Out the Right Weather
Keep an eye on the forecast so that you can try to get photos on a clear night with no clouds to obscure your view and no haze to dim the lights. Monitor local weather forecasts and utilize auroral activity predictions to time your expedition. The weather can test your patience, but remember that the right conditions are a gateway to capturing this marvelous spectacle in its full glistening glory.
It’s also important to find information on the prevalence of aurora activity at your destination. For example, at Gangler’s luxury wilderness lodge in sub-arctic northern Manitoba, the northern lights are visible up to 300 nights per year. However, this is not the case in all areas where the northern lights are visible, which is why it’s important to thoroughly research your travel destination.
Bundle Up
The arctic chill is no friend to the unprepared. Nights can be chilly even in late summer, so dress in layers with a thermal base layer and waterproof outerwear. You might be out there for several hours to give yourself the best chance of getting a great shot of the northern lights. Peak activity could occur at any time of night, including the earliest morning hours after midnight. Dressing appropriately for the weather will ensure you remain comfortable no matter when the lights are at their brightest.
Use a Tripod
Stability is the guardian of clarity. A tripod is as essential as the camera itself when photographing the northern lights. A tripod allows for longer exposures that can record every undulation of the curtains of light an aurora may produce. A sturdy, stable tripod allows you to set the camera and then step back and observe, making it easier to assess whether the photo has captured an image that best expresses what you have seen in the skies above.
Manual Settings Are Best
Manual settings offer the flexibility to capture a variety of images and create various compositions that highlight different elements of the viewing experience. You can change exposure time, lenses, filters, and the scope of the photograph. Choose whether to include foreground elements of the surrounding landscape or simply shoot the starry sky draped in auroral bands of light.
Review the Technical Stuff
Pros who have photographed the northern lights recommend experimenting with your camera’s settings based on the conditions at the time you’re attempting to capture the phenomenon. Adjust as necessary to the following settings:
- F-stop settings: Wide apertures (low f-stop numbers) are ideal, as they allow maximum light intake. Your lens should have at least an f/2.8 capability, with wider being better.
- Shutter speed: Begin with a 15-second shutter speed. If the lights move swiftly, shortening the exposure time to capture their figure without blur becomes necessary.
- ISO: Start at ISO 1600. High ISO values help in dark environments, but you should still monitor the resulting graininess in your images. Fine-tune the balance between brightness and clarity.
- White balance: Neutral white balances capture the aurora’s hues accurately. Experiment with settings around 3,200k–5,500k, depending on your scene.
- Focus: Autofocus can struggle in the dark. Switch to manual focusing, using live view mode if possible to bring the stars to a sharp twinkle.
Bring Extra Batteries
As anyone who has driven an electric vehicle in the winter knows that batteries drain faster in the cold. Bring several fully charged batteries on your expedition and do your best to insulate them in an appropriate case or store them in a pocket near the warmth of your body. Make sure that the contacts on your extra batteries don’t touch each other, as that could cause them to ignite. Separate your extra batteries from one another and keep them dry in plastic bags until you need them.
Prepare Your Phone as a Backup
In the event that your camera fails or the lights arrive when you’re not prepared with your tripod in place and camera anchored, you can use your phone’s camera as a backup. With advancing camera technologies, your phone can be a formidable backup or complement to your primary equipment. There are even apps available that are specifically tailored to capturing the northern lights with a mobile device.
Combine Northern Lights and Wildlife Viewing
The untamed wilderness of northern Manitoba offers more than opportunities to capture the northern lights. It also presents a chance to see and photograph a variety of wildlife species. The remote sub-arctic region of Manitoba is a treasure trove of wildlife, from moose and wolves to foxes and fish.
Several hundred miles east along the western shores of Hudson Bay lies Churchill, known globally as the polar bear capital of the world. Photographers and adventure-lovers alike seek out the unparalleled opportunity the area provides to see these majestic creatures in their natural habitat.
Churchill is also within the migratory route of beluga whales. A lucky photographer who ventures out on the bay or finds a spot on the shore with a close view of the water can capture images of belugas on the move.
By combining a trip to the sub-arctic wilderness with a visit to Churchill, photography enthusiasts can enrich their portfolios with a diverse range of nature imagery. They can capture everything from the serene glow of the aurora to the profound gaze of a polar bear and the playful dance of beluga whales.
Gangler’s Churchill wild polar bear tours masterfully combine two distinct experiences into one seamless adventure. Stationed at a luxury wilderness lodge nestled in the remote subarctic, guests find themselves in the perfect setting to photograph the northern lights in all their glory. This spectacular locale, far removed from light pollution, allows for unparalleled views of the night sky’s dazzling displays.
Following several nights of opportunities to see and photograph the celestial spectacle, the adventure continues in Churchill, where guests can encounter the wild world of polar bears and beluga whales. This unique combination ensures adventurers not only leave with a camera full of breathtaking images but also with memories of a once-in-a-lifetime experience that intertwines the celestial with the earthly, capturing the essence of the subarctic’s beauty.
Photographing the northern lights with these nine tips in mind allows you to share your experience with those back at home. When you return from your trip with spectacular images, you’ll recall the thrill and the awe that viewing the northern lights and seeing polar bears in the wild inspires.